Completion of PROMs - Tablet mode
Aim
The aim of this article is to describe how to electronically collect Patient Reported Outcome Measures (PROMs) using a tablet (mobile device).
Procedure
Please note: The following steps are performed on your local PC, not on the tablet. Specific actions with the tablet are marked as such.
Step 1: To access live data capturing the menu section “Start ePRO/CRF” needs to be selected (Figure 1).

Step 2: This table provides an overview of the pending questionnaires. Each line displays the information of one patient. Patients with an orange labeled button named “Action Required” on the first column have unanswered pending questionnaires.
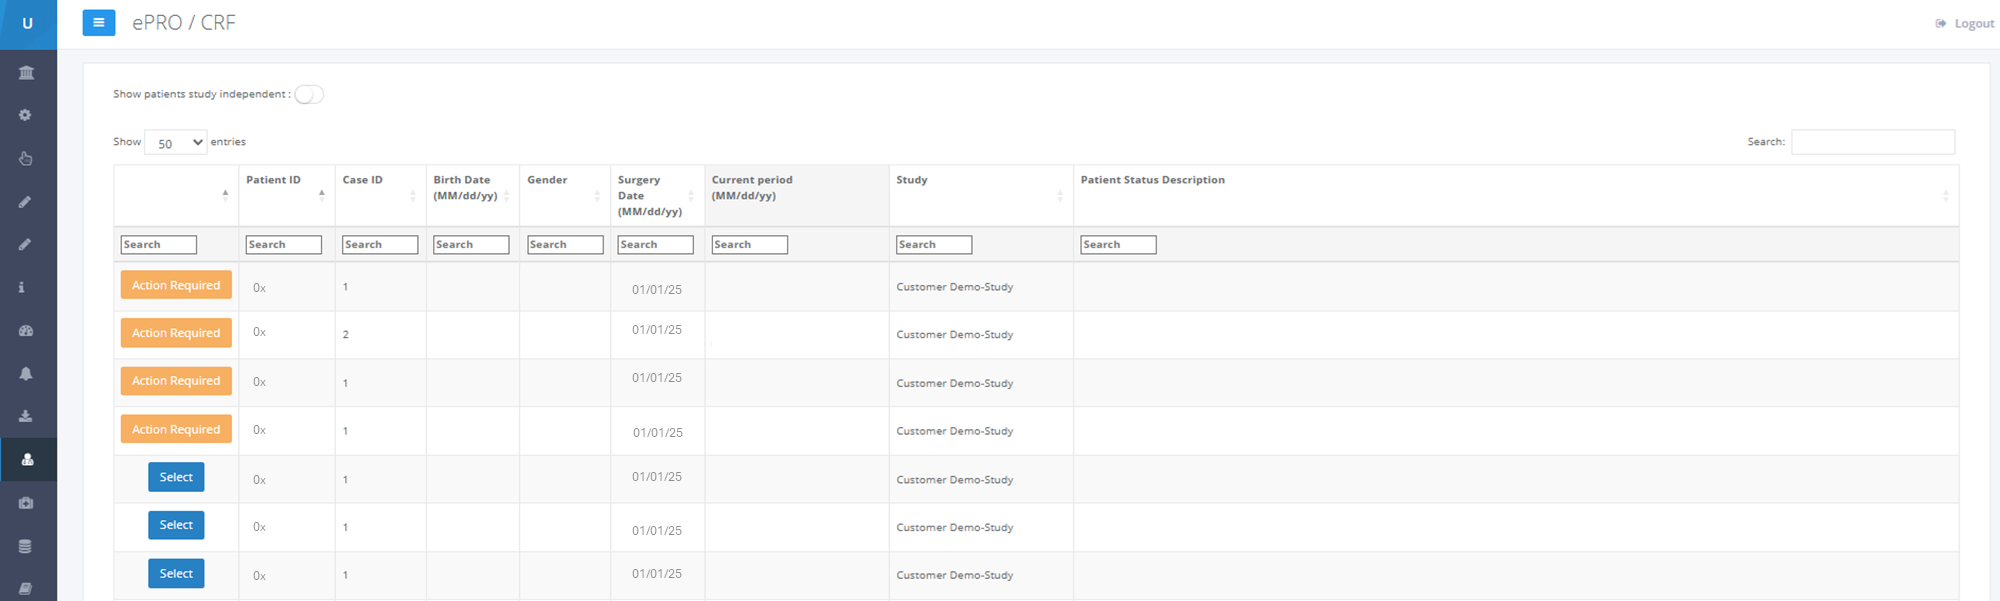
By clicking “Action Required”, pending questionnaires for this patient can be seen and accessed.

Step 3: By clicking on “Get Login Token” a pop-up window will appear giving different options to generate patient login credentials.
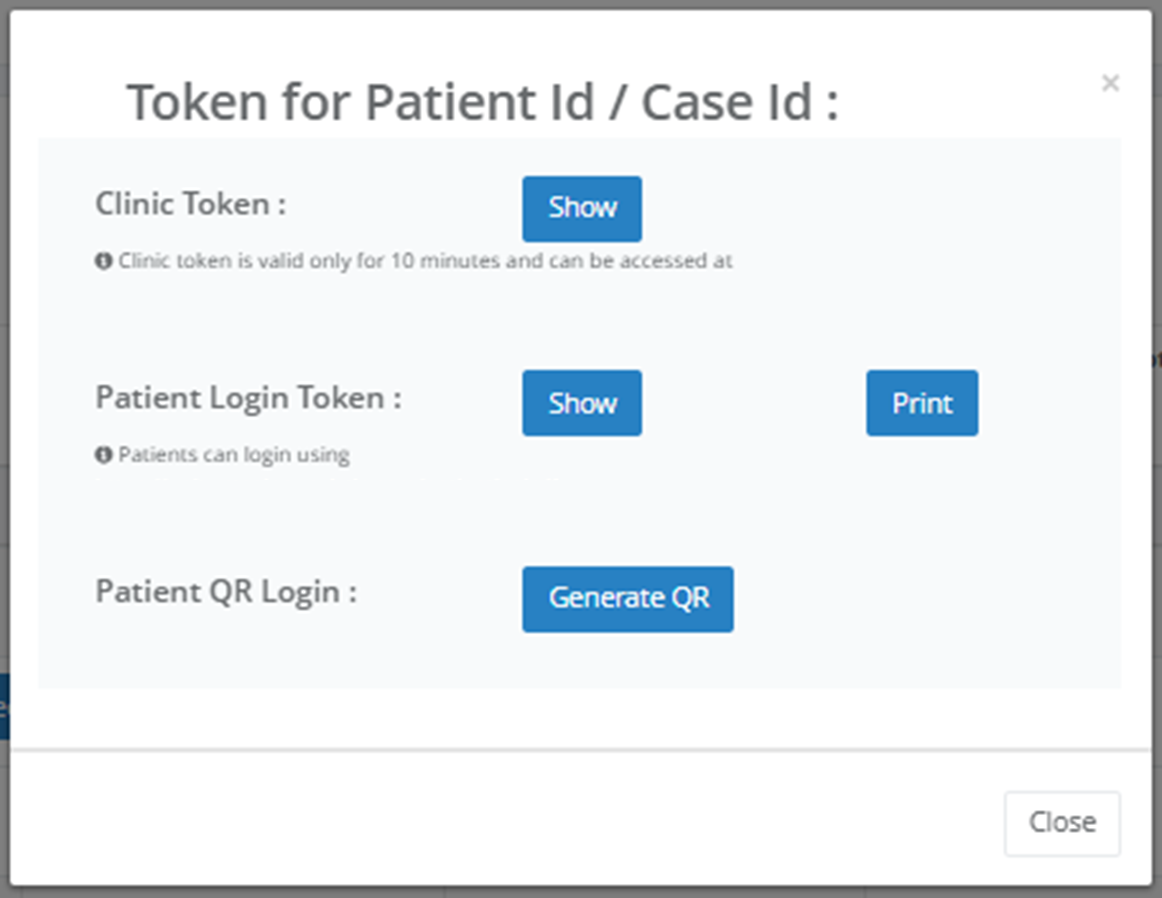
Step 3: To start completing the questionnaire, “Get Login Token” should be selected and the referring URL listed under “Clinic Token” must be inserted into the internet browser of the tablet to get to the login page on the tablet.
Note: Saving this URL to your tablet’s browser favorites or creating a shortcut to your tablet`s desktop can shorten this step for future patients.
You may also generate a QR to use for the patient as a login. Please refer to section Generation of QR-Code.
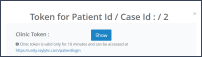
Step 4: By clicking on “Show” (next to “Clinic Token”) a token for the tablet access will be generated. The Token will be created ad hoc and is valid only for 10 minutes to ensure correct patient authorization.
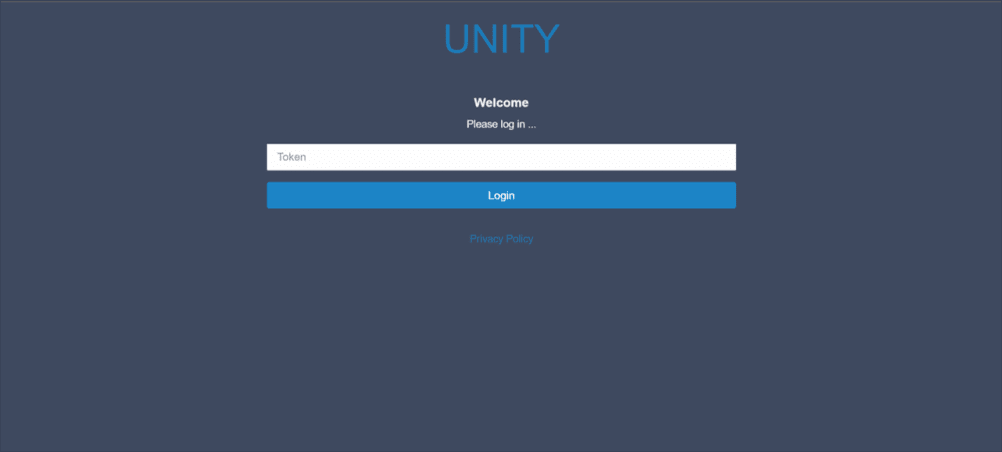
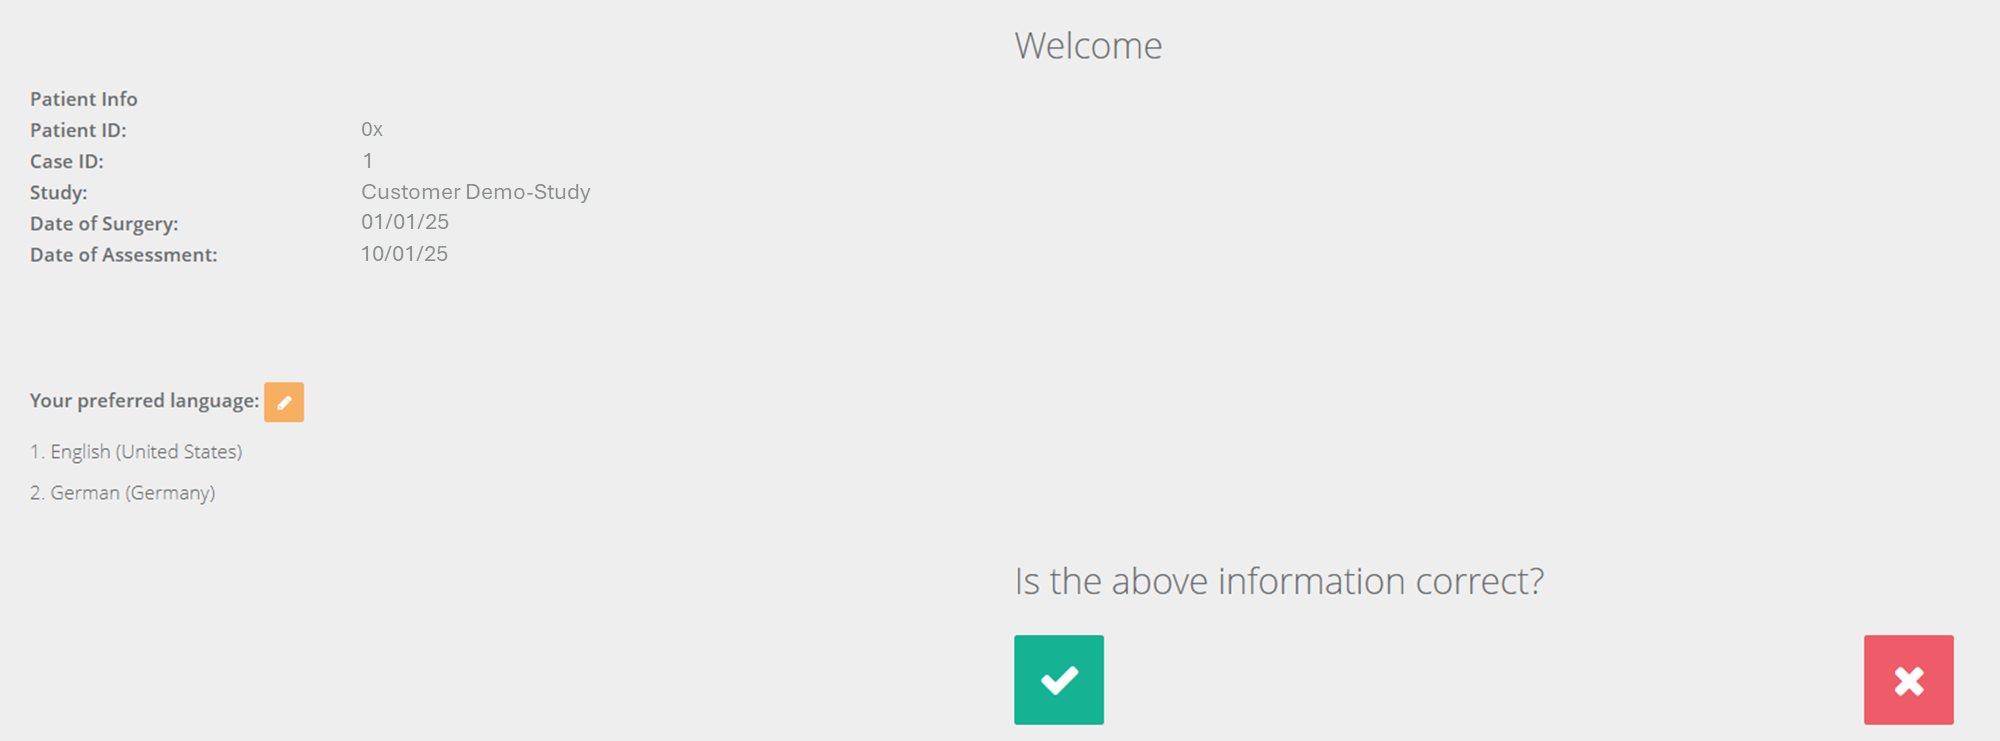
Step 5: On the Tablet login page, the token generated in step 4 must be entered and the basic information confirmed, including the correct selection of the patient and study. The tablet can then be handed over to the patient.
Step 6: The patient can then already start filling out the PROMs. All PROMs required for this study visit will be displayed one after the other. In this way, RAYLYTIC Platform users can ensure that no PROM is unanswered or forgotten during the visit.
Step 7: Depending on the predefined configuration required by the sponsor, patients can view their results once all PROMs are completed.
Generation of QR-Code:
To generate a QR-Code to use for the patients as a login, please repeat steps 1-3, and select “Generate QR”.
A QR-Code will appear on the screen, which can be shown to the patient.
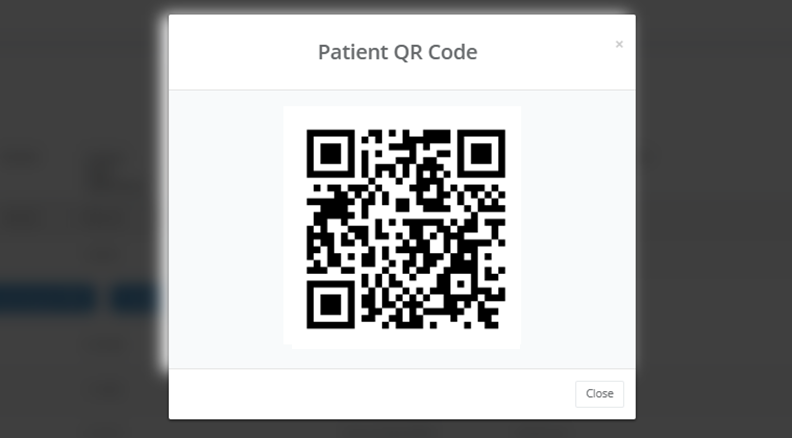
The code may be scanned with another tablet provided by the study site or e.g. by the patient’s smarthphone. The patient will be directed to the pending questionnaires (continuation step 6-7).
Updated on 21 Mar 2025