Email-Alerts for upcoming patient visits
Aim
This article briefly describes how to configure (add, edit and delete) e-mail alerts to remind for upcoming patient visits.
Procedure
Creating a new e-mail alert
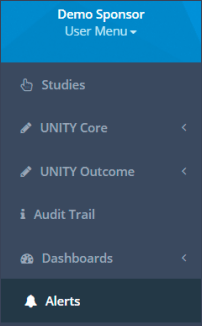
Step 1: Go to the menu section “Alerts” (Figure 1).
Step 2: Choose a site from the drop-down list. If you have access to more than one site you can either configure the alerts to be sent for one specific site or for all sites. The latter however is only possible if you have have access to all sites assigned to this study. If you have access to more than one site (but not to all sites) you will need to configure the e-mail alerts for each site that you have access to separately.
Step 3: Click on the blue button “Add alert” (Figure 2).
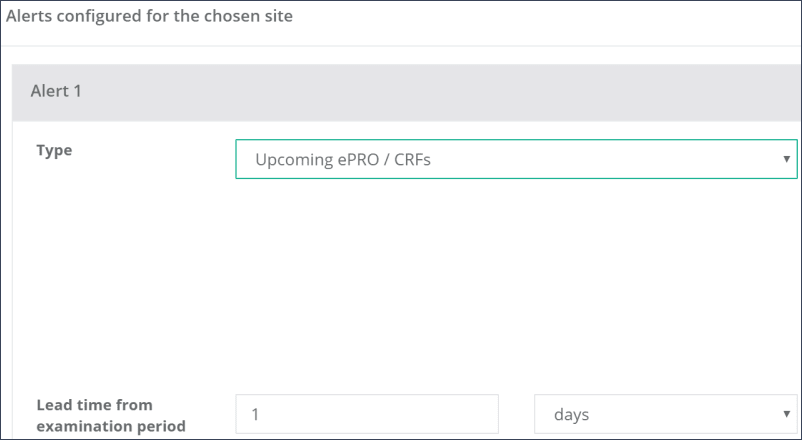
Step 4: Select “Upcoming ePRO / CRFs” from the drop-down list as the “Type” of notification and add the time interval for notification:
“Lead time from examination period”: You can choose how many days, weeks or months before the start of the examination period you want to receive an email notification. In the example below, the lead time “1 day” has been selected, which means that an email notification will be triggered one day before the start of the examination period (Figure 3).
Please note that only one email, corresponding to the selected lead time, will be sent.
Step 5: Choose who shall receive this alert. You can either select from UNITY Platform users which have access to the study and site and add them to the"Recipients" via drag and drop or you can add an external recipient by clicking on the blue button “Add external recipient” and enter the email address to which this alert will be send (Figure 4).

Step 6: Click on “Save” to save the configurations for this e-mail alert.
Step 7: If you want to test the alert, you can trigger it by clicking on the turquoise button “Trigger alert” (Figure 5). This will send a test email to everybody on the recipients' list.
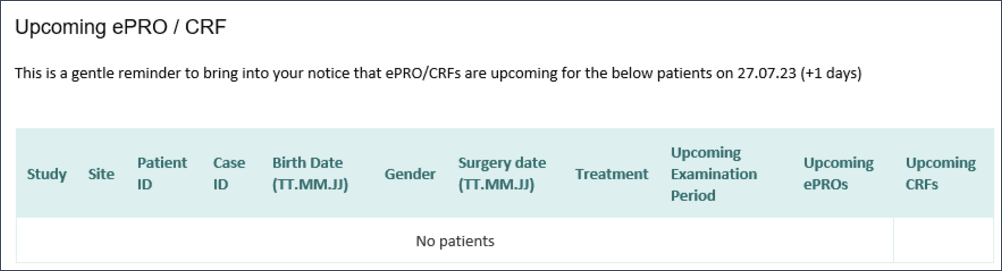
The email to be sent contains a table with the following information (Figure 6):
Editing an existing e-mail alert
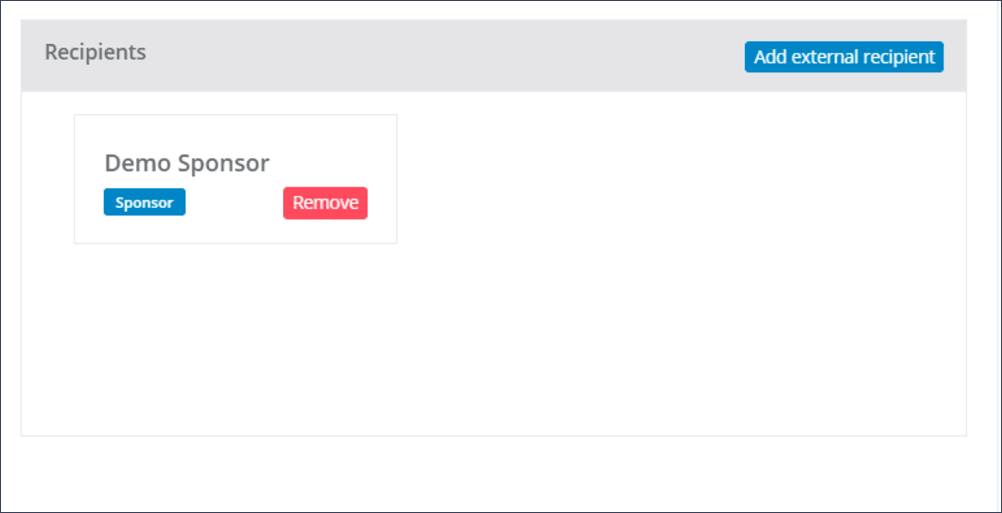
To edit an existing e-mail alert, just edit the desired field(s) and click on “Save”. Modifications to the list of recipients can be done by clicking on “Remove” in the field of the user to be deleted (Figure 7) or by adding other recipients as described previously.
Deleting an existing e-mail alert
To delete an e-mail alert and stop receiving e-mails, click on “Remove alert”.
Updated on 13 Sep 2023