Medical Coding Overview and Coding Procedures
Aim
This article briefly describes how to use the “Medical Coding Overview”.
Please note: Before medical codes can be added to specific answers, medical coding must be assigned to the corresponding questions first. Please refer to the article on Configuration of Medical Coding.
Procedure
All questions with assigned medical coding can be viewed by sponsor users with the appropriate “Medical Coding” permission in a table under the “Study Overview” menu area / “Medical Coding Overview” subsection (Figure 1).

The “Medical Coding Overview” is presented in form of a table. Each given answer per designated questionnaire and patient is presented in a single row with additional information of the “Code”, “Code Description” and the “Coding Mode” (Figure 2).

The complete “Medical Coding Overview” table can be downloaded as an Excel file by clicking on “Export” and subsequently “Excel” in the upper right corner.
The “Medical Coding Overview” can be used to get an overview of the status of the completeness of coded questions and to search for specific codes. Two actions help to identify further actions:
Sorting a column: By using the two arrow symbol in the right corner of each header, the column can be sorted by its entries
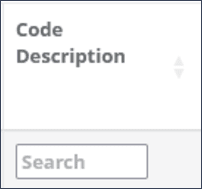
Filtering a column: By typing into the “Search” field below each header, the column can be sorted by its entries, e.g., filter for missing or specific codes (Figure 3).

There are two possible ways to assign medical codes to answers in questionnaires.
Add Medical Coding
Site and sponsor users with the permission “Medical Coding” can add Medical Coding via the Questionnaire results page.
a) Via Questionnaire Results:
Step 1: A completed questionnaire with assigned medical coding must be selected for a specific patient under the menu section “Study overview” and subsection “Questionnaires” by clicking on “Completed” (Figure 4).

All answers given are displayed on this results overview. Questions with assigned medical coding show a yellow button “+ MC” at the right side next to the answers (Figure 5).

Step 2: By clicking on the yellow button a “Terminology browser” window will be opened.
Step 3: The term to be coded can be selected in two different ways: a) Search for term by name (Figure 6)

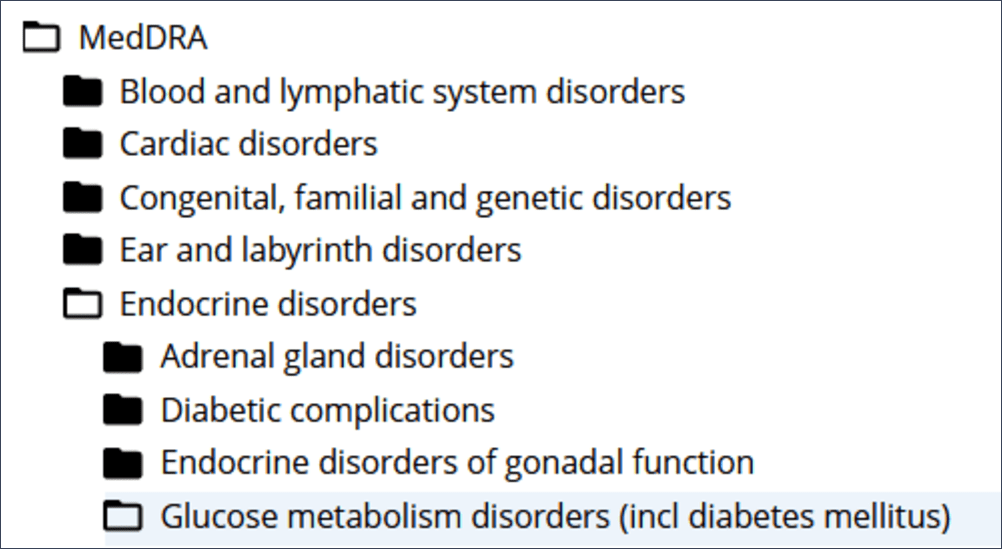
b) Usage of Terminology tree: By clicking on “MedDra” the subsequent levels of disorders will open and the tree can be followed until the correct term is available (Figure 7)

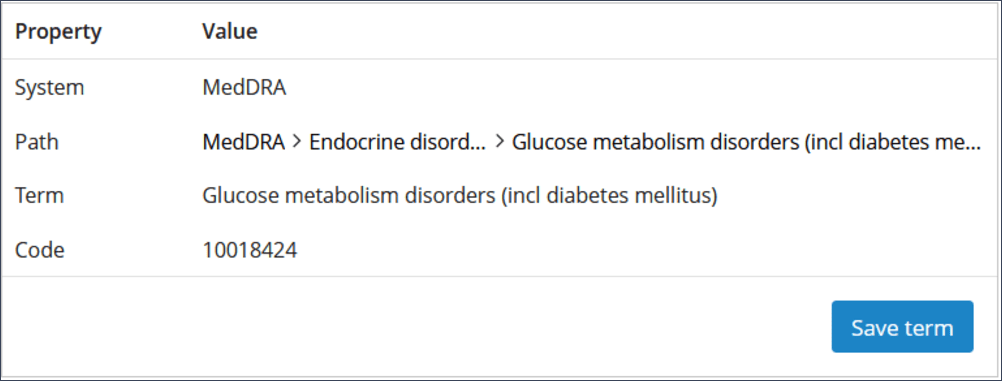
Step 4: Check the term in the right window under “Value”, if the “System”, “Path”, “Term” and “Code” are completed. Afterwards click on “Save term” (Figure 8).

Sponsor users with the permission “Medical Coding” can also use a second option to add Medical Coding via the Medical Coding Overview and use the function “Autocoding”
b) Via Medical Coding Overview (incl. Autocoding):
Step 1: In the Medical Coding Overview, if no medical code has been added so far, the columns “Code” and “Code Description” show a red label “Missing”. To add a medical code, the yellow button “+ MC” must be clicked. The terminology browser will then open and the code can be selected analogously to the steps explained in section a).
Step 2: Optional: When a specific answer of a question was already coded manually and the exactly same answer of the same question was selected in at least one other completed questionnaire, the auto coding function can be used. Therefore the turquoise button ”Auto coding” must be clicked (Figure 9). Afterwards all other rows with the specific answers that already have a manually added medical code will be filled and must just be confirmed.

Autocoding is typically used for single and multiple select questions with predefined answers, not for free text questions.
If the same predefined answer was coded manually with different medical codes, the auto coding function will display “Conflict” which can only be resolved manually (Figure 10).

Edit and Delete Medical Coding
To edit an already existing medical coding the questionnaire results page of the corresponding questionnaire or the Medical Coding Overview can be used. By clicking in the blue button the medical code can be edited, by clicking on the red button the medical code is deleted (Figure 11).

Updated on 28 Jul 2023
