Monitoring Image Files
Aim
The aim of this article is to describe how to use features in the RAYLYTIC Platform for monitoring image data.
Procedure
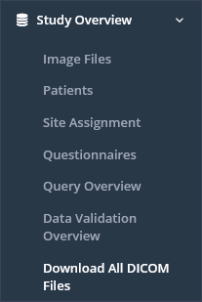
The menu section “Study Overview” / subsection “Image Files” has to be selected (Figure 1).

Image Study Overview mit Image Files selected
The “Image Data Overview” allows a quick assessment of the completeness of the image data through the specified color coding. The color coding is explained in Image Files Overview.
For internal documentation or to record the completeness status, the table can be exported at any time in the form of an Excel spreadsheet using the “Export” button in the upper right corner.
To download images from the overview, you can either click on the download icon (Figure 2) in the individual cell of the table and then select whether the image should be downloaded as a jpg file or in DICOM format, or you can select the subsection “Download All DICOM Files” (Figure 3) under the menu item “Study Overview” to download all image data currently available in the study.


Images that have not been taken and are therefore not available for upload can be set to “Not taken”. To do this, click on the pencil icon next to the “Missing” tag of the specific image in the “Image Data Overview” (Figure 4), change the status from “Missing” to “Not taken” in the drop-down menu, enter a comment and confirm with “Save”.

Updated on 23 Mar 2022
