Upload of medical images
Aim
The aim of this article is to explain how to upload DICOM images for one patient or multiple patients to the RAYLYTIC Platform.
General Information
DICOM images to be uploaded need to be saved locally before starting the process. Saving DICOM files in patient-specific folders is highly recommended (Figure 1).

Procedure
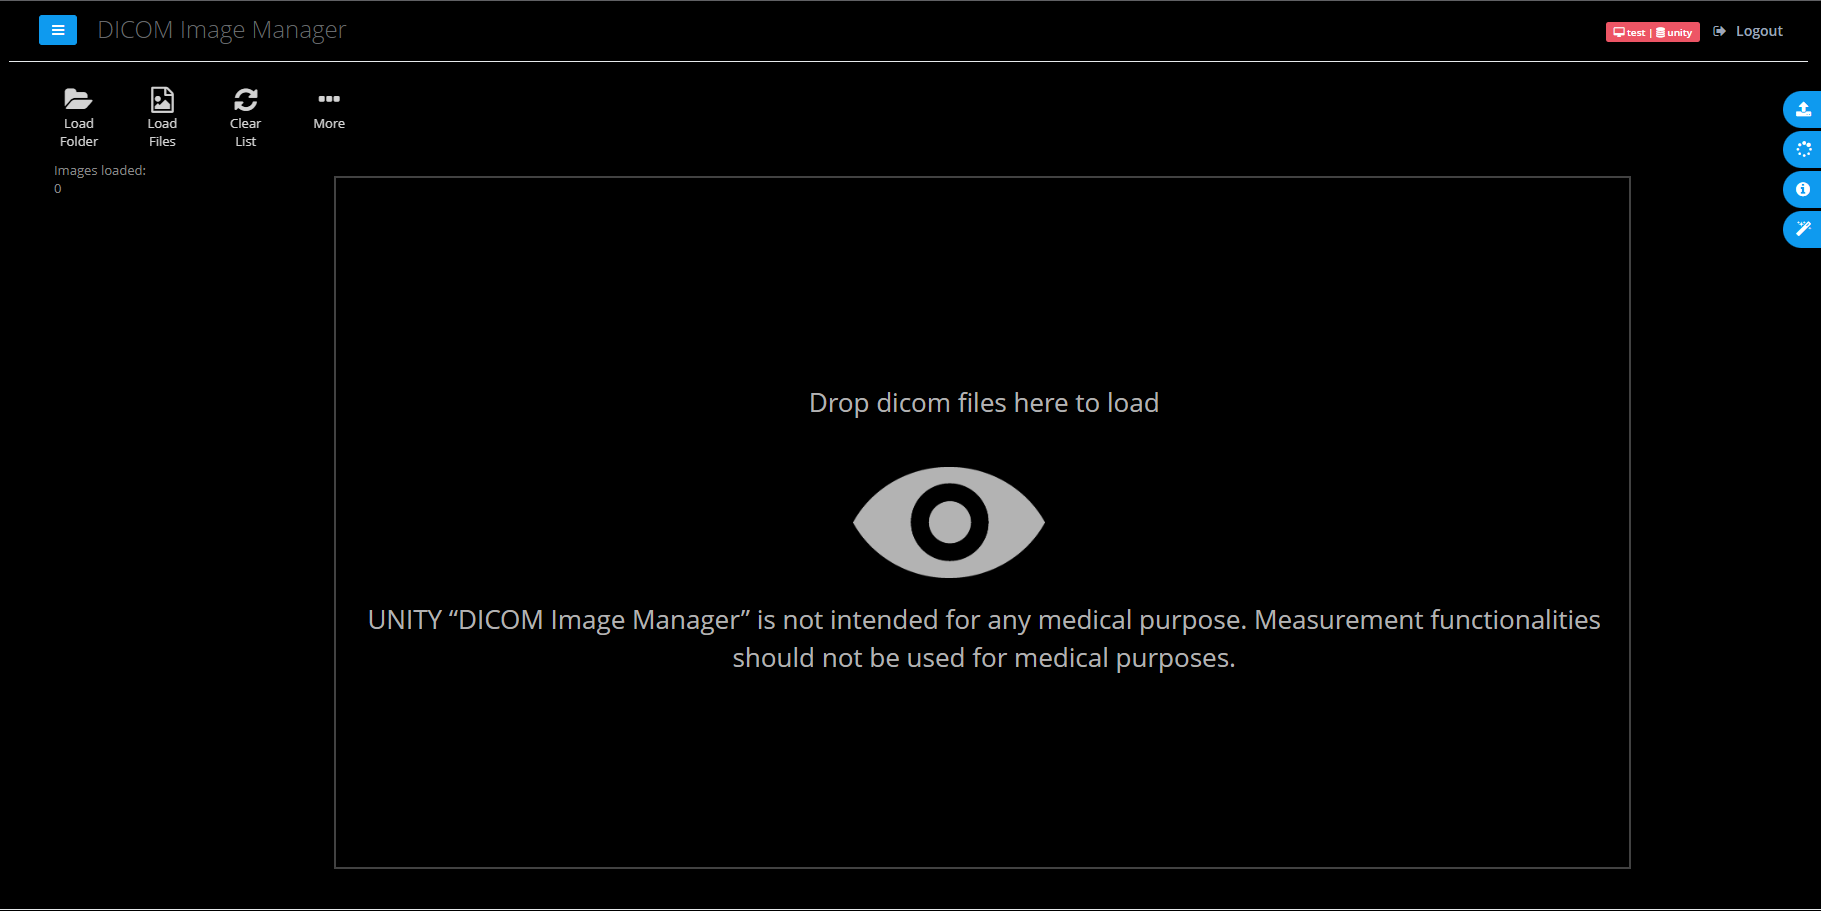
Step 1: After a successful log-in into the RAYLYTIC Platform, the relevant study under the menu section “Studies” needs to be chosen. To upload an image, the menu section “Upload & Import” / subsection “Upload and Measure Images” has to be selected. Subsequently, the DICOM Image Manager (Figure 2) will be opened.
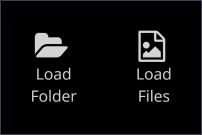
Step 2: Images can either be uploaded individually via “Load Files” or in an entire Folder via “Load Folder” (Figure 3).
Furthermore, it is also possible to drag the folder containing the patient´s images and drop it on the eye-symbol area of the DICOM Image Manager.
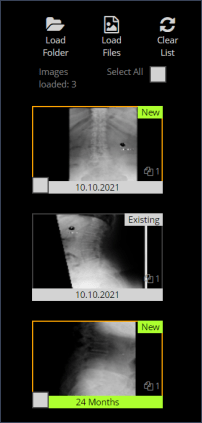
Step 3: A preview of the loaded images is visible on the left. Newly uploaded images are recognized as “New” while already uploaded images are labeled with the tag “Existing” as shown in the upper right corner of each preview image (Figure 4). The acquisition date of each image is displayed below each preview image and the number of slices on the lower right corner of each preview (this information is only relevant for 3D images such as CTs or MRIs).
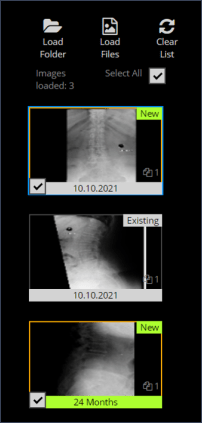
Step 4: By ticking the check box “Select All”, all new images will be selected for the upload. It is also possible to select individual images for upload by clicking on the lower left corner of each preview. Only images belonging to the same patient can be uploaded together.
Step 5: Next, the upload icon at the top right of the screen has to be clicked. Here, the “Site” and “Patient” to which the images should be uploaded have to be selected (Figure 6).
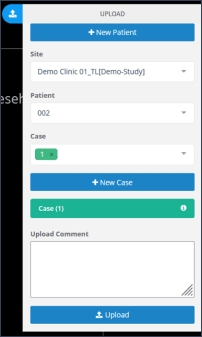
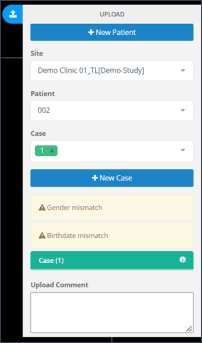
Step 6: In case of a discrepancy between the patient’s information in the RAYLYTIC Platform and the image, a warning message is displayed and the previews are displayed in an orange frame (Figure 7). The image can still be uploaded with inconsistent information, but it is strongly recommended to check that the selected patient is the correct one. Once the patient is selected, each preview image will display the suitable examination period in green according to the patient’s date of surgery in the RAYLYTIC Platform and the images’ acquisition date.
Step 7: To start the upload process, the blue button labelled “Upload” needs to be clicked. The process will start immediately as shown in Figure 8.
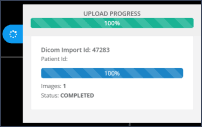
Step 8: The upload progress of each file is displayed as a blue progress bar as seen in Figure 8. Furthermore, a yellow “in Progress” tag in the upper right corner of each image refers to the uploading status of each image. Once the upload actually started, a new folder or file can be loaded into the DICOM Image Manager without affecting the already started uploads. However, the browser CANNOT be closed and the user CANNOT leave the DICOM Image Manager (e.g. click on “Image Files”, “Upload Overview”, etc.), otherwise not yet uploaded images will be lost.
Step 9: Once the images are completely uploaded, an overview of the uploaded images can be found under the menu section “Upload Overview” (Figure 9). All images are automatically assigned to the appropriate examination period, according to the patient´s surgery date in the RAYLYTIC Platform. However, these images are not yet available for further analysis. They need to go through a quality check performed by RAYLYTIC before they can be imported into the study database. Nevertheless, it is possible to download or delete an image or to edit the date associated with it (e.g. the examination date). To download the image, the download icon and to delete it, the trash can icon has to be clicked. Editing any image information is possible by clicking on the pencil icon.

Step 10: The process of uploading medical images into the RAYLYTIC Platform is complete. After the quality check, the images will be imported and are then displayed under the menu section “Study Overview” / subsection “Image Files”.
Uploading images using the Batch Mode
If a great number of images need to be uploaded into the RAYLYTIC Platform, it is also possible to do this efficiently by using the Batch Mode.
Step 1: First, one has to follow the instructions on how to upload images separately as described above.
Step 2: If DICOM images for another patient should be uploaded before all images of the first patient are completely uploaded, the Batch Mode can be used. This mode allows you to upload DICOM images of multiple patients in parallel.
To proceed with the upload of images from a further patient, the list of selected images needs to be cleared by clicking on the button “Clear List” (Figure 10). With this step, only the preview-section will be cleared without affecting the upload process for other images.
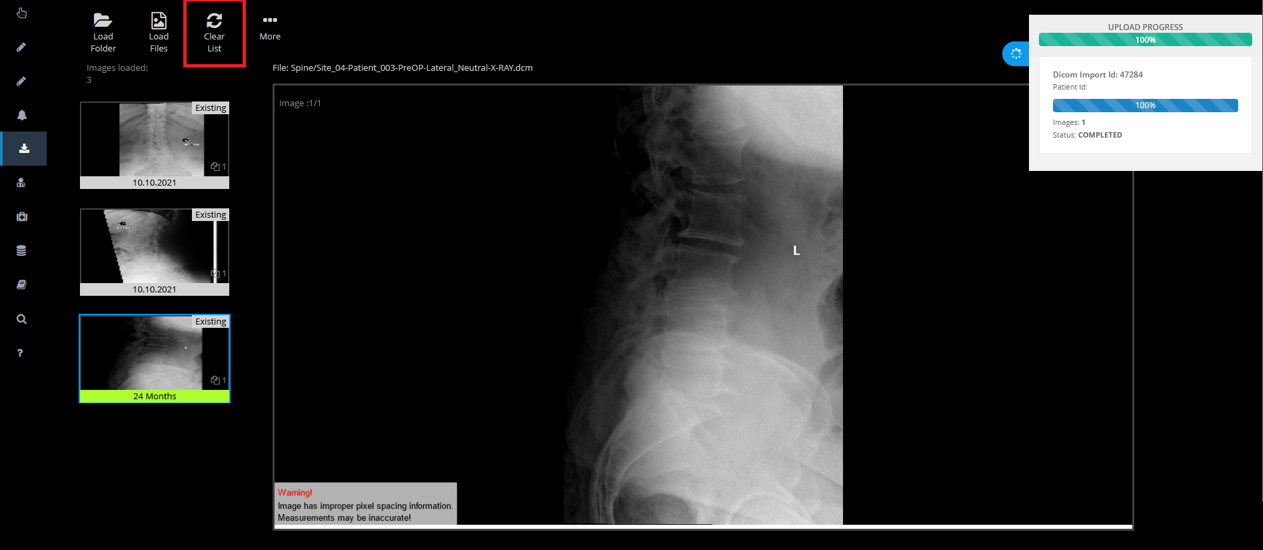
Step 3: To select images of a new patient either the “Load Folder”-button or the Drag & Drop function can be used to load a new folder to the DICOM Image Manager.
Step 4: For every additional patient, the steps 2 & 3 have to be repeated.
Using Batch Mode allows uploading of images from several patients in a faster way - the upload process runs in the background, also when the user is automatically logged out due to inactivity. However, the browser must not be closed and neither the DICOM Image Manager nor the RAYLYTIC Platform can be left (not actively logging out) while images are being uploaded - otherwise not yet uploaded images will be lost.
Updated on 13 Sep 2023
